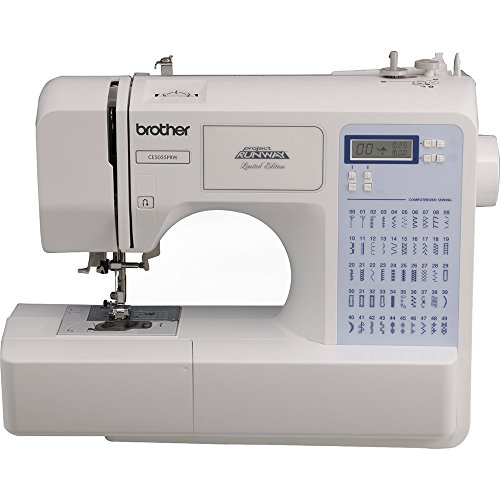
How to Adjust Presser Foot Pressure on Brother Sewing Machine
Adjusting the presser foot pressure on your Brother sewing machine is essential for achieving optimal stitching results. This guide will walk you through the process, ensuring you can handle various fabric types effectively. Always remember to follow safety precautions, such as keeping your fingers clear of the needle and ensuring the machine is off when making adjustments.
Disclosure: As an Amazon Associate I earn from qualifying purchases.
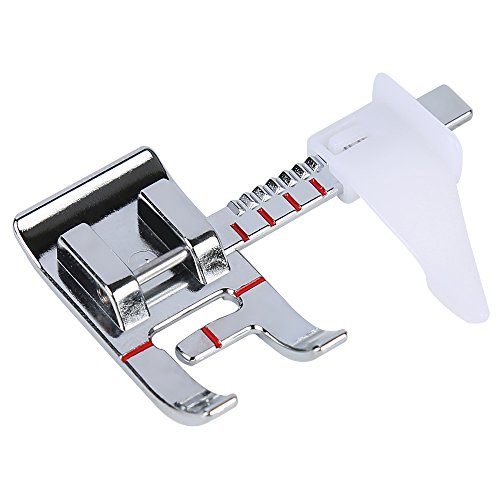
- High Quality Premium Sewing Feet From Smart H.
- The Adjustable Guide Foot guides your topstitching and decorative stitching perfectly.
- The presser foot has a “ruler” with an adjustable guide designed so you can place the gu…
What You’ll Need
Before you begin, gather the following items:
- Your Brother sewing machine
- Fabric samples (different types for testing)
- Smart H Adjustable Guide Sewing Machine Presser Foot (or a similar adjustable presser foot)
- Screwdriver (if required for your machine model)
- Measuring tape or ruler
Step-by-Step
- Turn Off Your Machine: Always ensure your sewing machine is powered off to avoid accidental needle movement while making adjustments.
- Locate the Presser Foot Pressure Adjustment: Check your machine’s manual to find the presser foot pressure dial or knob. This is typically located on the top or front of the sewing machine.
- Remove the Current Presser Foot: If necessary, detach the current presser foot by pressing the release lever. This will make it easier to adjust and test the new settings.
- Install the Adjustable Presser Foot: Attach the Smart H Adjustable Guide Sewing Machine Presser Foot or another compatible foot. Ensure it snaps securely into place.
- Adjust the Pressure: Turn the presser foot pressure dial to increase or decrease the pressure as needed. A general rule is to use lighter pressure for delicate fabrics and heavier pressure for thicker materials.
- Test the Adjustment: Place a sample of the fabric you plan to sew under the presser foot. Run a few stitches to see how well the fabric feeds through the machine.
- Fine-Tune as Necessary: If the fabric is slipping or not feeding properly, readjust the pressure and test again until you achieve the desired results.
- Secure Your Settings: Once you are satisfied with the pressure setting, ensure everything is tightened properly and that the presser foot is securely in place for sewing.
Pro Tips for Better Results
- High Quality Premium Sewing Feet From Smart H.
- The Adjustable Guide Foot guides your topstitching and decorative stitching perfectly.
- The presser foot has a “ruler” with an adjustable guide designed so you can place the gu…
To enhance your sewing experience, consider the following tips:
- Use the adjustable guide feature on the Smart H foot to help with topstitching and decorative stitching.
- Experiment with different fabric types to understand how pressure affects feed and stitch quality.
- Keep a notebook to track your settings for different fabrics, helping you remember adjustments for future projects.
Common Mistakes
Be mindful of these common pitfalls:
- Not testing the pressure on fabric samples before starting a project can lead to poor results.
- Leaving the presser foot pressure too high can cause puckering on lightweight fabrics.
- Forgetting to re-adjust pressure when switching between fabric types may lead to inconsistent stitching.
Troubleshooting
If you encounter issues while sewing, try these solutions:
- If fabric is not feeding properly, check if the presser foot is too loose or if the pressure is too low.
- For skipped stitches, increase the pressure slightly, as this can help the fabric stay in place.
- If you notice uneven stitching, double-check that the presser foot is installed correctly and that the pressure is set appropriately.
Maintenance / Next-Time Checklist
To ensure your machine remains in top condition:
- Regularly clean your sewing machine to prevent dust buildup, especially around the presser foot area.
- Check the presser foot pressure setting before starting new projects to ensure it’s adjusted for the fabric type.
- Inspect the presser foot for wear and tear, replacing it if necessary to maintain quality stitching.
Recommended Products & Tools
Consider these products to enhance your sewing experience:
- Smart H Adjustable Guide Sewing Machine Presser Foot: This presser foot allows for precise control over your topstitching and decorative stitches, making it easier to achieve professional-looking results.
- Snap On Low Shank Presser Foot Adapter: This adapter simplifies the process of changing presser feet, allowing you to quickly switch between different types as needed.
- AMZTKDIY Hemmer Foot Set: This set includes multiple sizes for various hemming needs, ensuring that you can tackle different fabric thicknesses with ease.
FAQ
1. How often should I adjust the presser foot pressure?
Adjust the pressure each time you change fabric types or thicknesses to ensure optimal stitching.
2. What happens if I set the pressure too high?
Setting the pressure too high can cause fabric puckering and uneven stitching.
3. Can I use any presser foot with my Brother machine?
Ensure that the presser foot is compatible with low shank domestic sewing machines for best results.
4. Is it safe to adjust the presser foot pressure while the machine is on?
No, always turn off the machine before making any adjustments to avoid accidents.
5. What is the benefit of using an adjustable presser foot?
Adjustable presser feet provide versatility, allowing you to customize pressure for different fabrics and sewing techniques.

- This sewing machine ankle is compatible with most low shank sewing machines.
- Easy to replace feet with a press of the lever, no screwdriver is needed.
- The pin on our adapter holds feet securely, reducing the chances of loosening while sewi…
Wrap-Up
Adjusting the presser foot pressure on your Brother sewing machine is a straightforward process that can significantly impact your sewing results. By following this guide, you can ensure that your projects turn out beautifully, regardless of the fabric type. Remember to practice, experiment, and maintain your machine for the best sewing experience.
Recommended Products & Tools
- High Quality Premium Sewing Feet From Smart H.
- The Adjustable Guide Foot guides your topstitching and decorative stitching perfectly.
- The presser foot has a “ruler” with an adjustable guide designed so you can place the gu…

- This sewing machine ankle is compatible with most low shank sewing machines.
- Easy to replace feet with a press of the lever, no screwdriver is needed.
- The pin on our adapter holds feet securely, reducing the chances of loosening while sewi…

- High Quality Premium Sewing Feet From YEQIN
- The Foot guides your topstitching and decorative stitching perfectly.
- The presser foot has a “ruler” with a guide designed so you can place the guide anywhere…

- Universal Low Shank Metal Snap-On Presser Foot Adapter Ankle for Sewing Machine
- Material: ALL Steel Metal
- Fit for almost all low-shank sewing machine, including Brother, Singer, New Home, Janome…

- Universal Low Shank Metal Snap-On Presser Foot Adapter Ankle for Sewing Machine
- Material: ALL Steel Metal
- Fit for almost all low-shank sewing machine, including Brother, Singer, New Home, Janome…

- O(∩_∩)O Versatile Hemming Solutions: Our wide rolled hem presser feet kit includes three…
- O(∩_∩)O User-Friendly Design: The rolled design of our hem feet simplifies the folding p…
- O(∩_∩)O Compatibility Check: To ensure our hem feet fit your machine, measure the distan…