How to Sew a Baby Romper: A Step-by-Step Guide
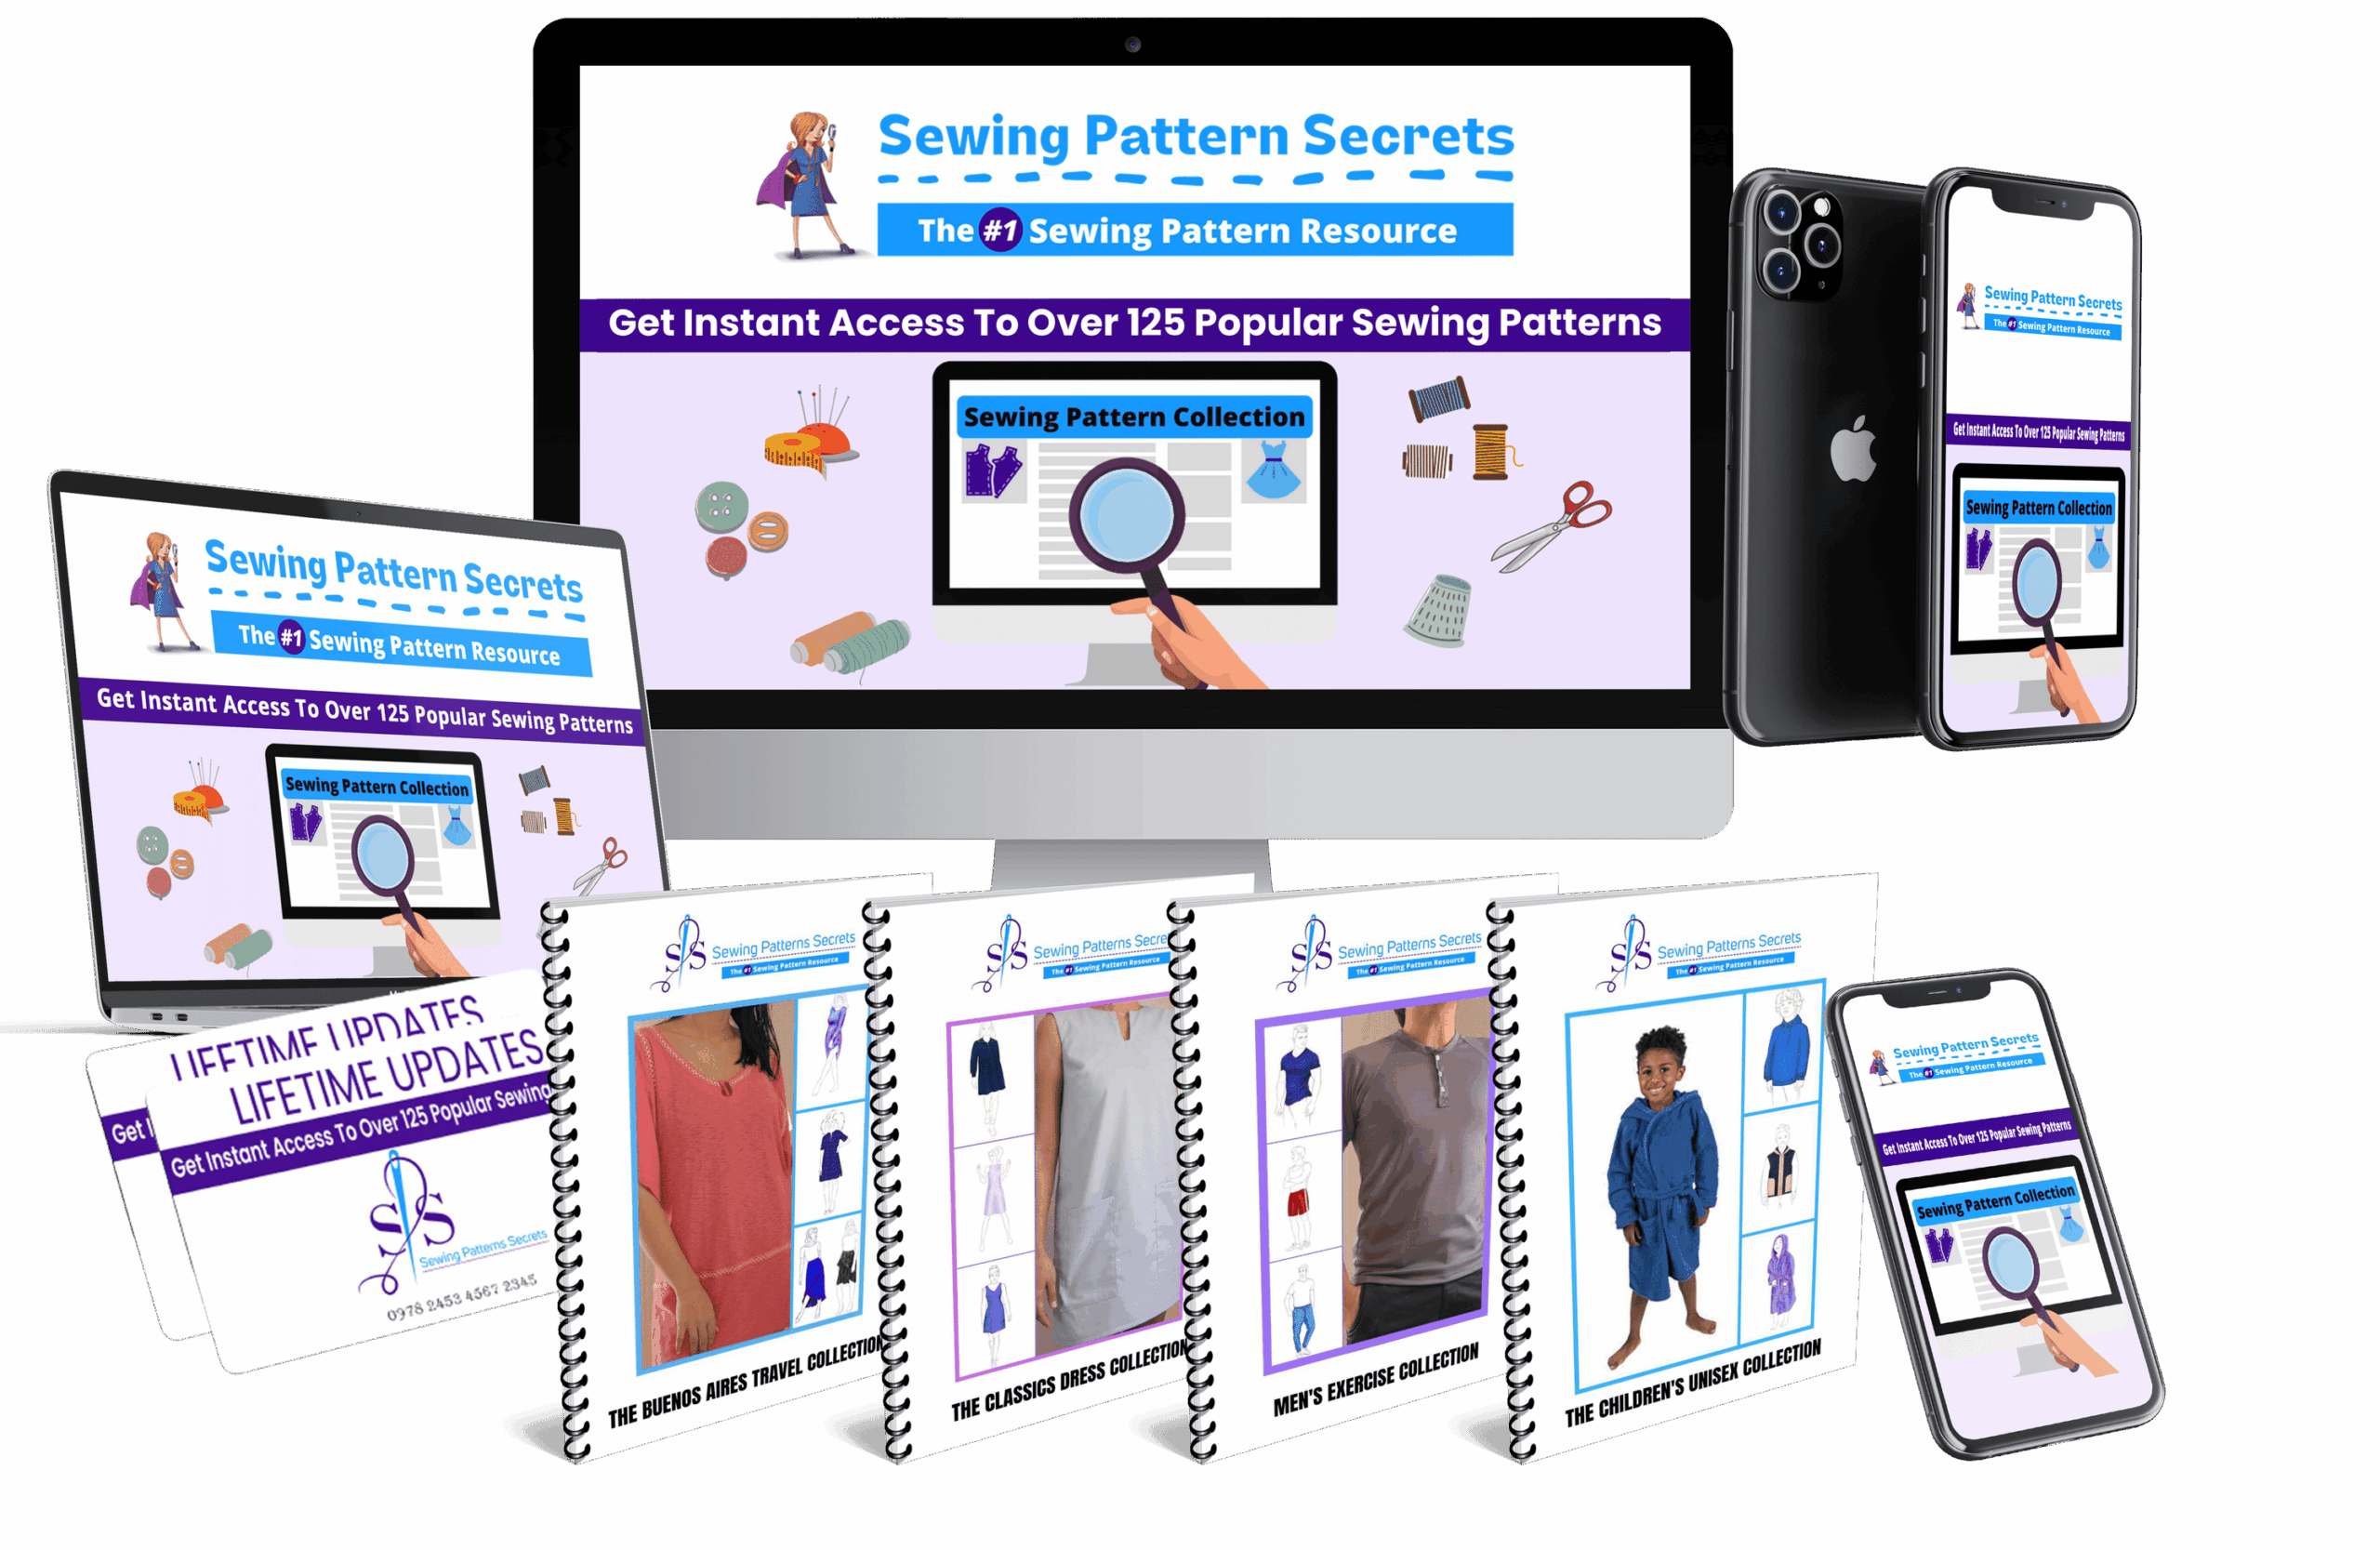
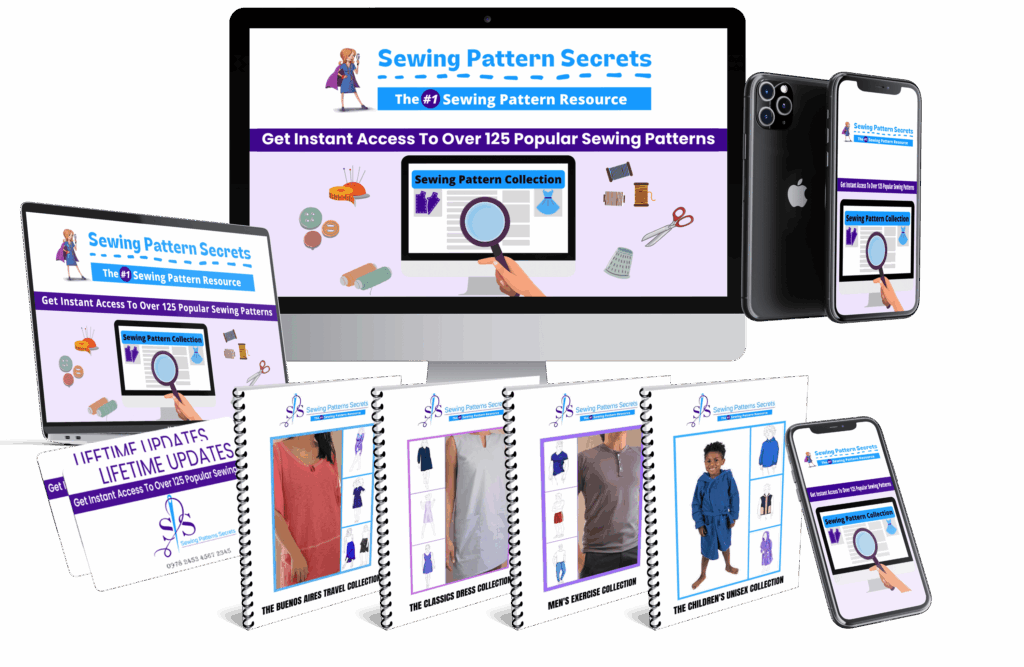
Sewing Pattern Secrets!
Looking for an honest, in-depth look at Sewing Pattern Secrets!? Below you’ll find a full review, but you can also check out the official page here:
Sewing your own baby clothes is a rewarding and practical skill, and learning how to sew a baby romper is a perfect project for both beginners and seasoned sewers. Not only does it allow you to create adorable, custom-fitted garments, but it also helps you save money and control fabric choices. In this guide, we’ll walk you through a simple baby romper pattern tutorial, share tips on sewing baby clothes, and cover common mistakes and troubleshooting to make your baby garment sewing experience smooth and enjoyable.
Disclosure: As an affiliate, I may receive a commission if you purchase through links on this page at no cost for you.
Why Sew Your Own Baby Romper?
- Customization: Choose your favorite fabrics, colors, and trims to make unique baby rompers.
- Fit: Adjust patterns to fit your baby’s measurements perfectly.
- Quality: Control fabric quality and stitching for durable, comfortable clothes.
- Cost-effective: Save money by making multiple rompers for less than buying boutique items.
Materials and Tools Needed
- Baby romper sewing pattern (downloadable or printed)
- Soft, breathable fabric (cotton knit or interlock recommended)
- Matching thread
- Sewing machine with stretch stitch or serger
- Scissors or rotary cutter
- Pins or fabric clips
- Measuring tape
- Snap fasteners or buttons for closures
- Marking tools (fabric chalk or disappearing ink pen)
Step-by-Step Baby Romper Pattern Tutorial
Step 1: Choose and Prepare Your Pattern
Select a reliable baby romper pattern tutorial that includes clear, detailed instructions and schematics. Patterns like those from Sewing Pattern Secrets often come with cutting guides and material lists, which simplify the process.
Print and cut out the pattern pieces according to your baby’s size or measurements. Always double-check the sizing chart and make any necessary adjustments before cutting your fabric.
Step 2: Cut the Fabric
Lay your fabric flat and pin the pattern pieces onto it, following the grainline indicated. Use sharp scissors or a rotary cutter to cut the fabric precisely. Accurate cutting ensures the romper pieces fit together perfectly.
Step 3: Sew the Main Body Pieces
Start by sewing the shoulder seams and side seams of the romper using a stretch stitch or serger to allow for fabric flexibility. Press seams open to reduce bulk and improve the garment’s finish.
Step 4: Attach Sleeves and Neckline
If your romper includes sleeves, sew them onto the armholes carefully. Use the pattern’s instructions for finishing the neckline, which often involves attaching ribbing or binding for comfort and stretch.
Step 5: Add Closures
Most baby rompers feature snap fasteners along the inseam or back for easy diaper changes. Attach snaps securely, spacing them evenly. Alternatively, you can sew buttons, but snaps tend to be more practical for baby garments.
Step 6: Hem and Finish Edges
Finish the hems of the legs and sleeves with a narrow hem or ribbing to prevent fraying and provide stretch. Make sure all raw edges are enclosed or serged for durability.
Common Mistakes to Avoid
- Ignoring fabric stretch: Baby rompers require stretchy fabrics for comfort and mobility. Using woven fabrics without stretch can result in tight, uncomfortable garments.
- Skipping seam finishes: Unfinished seams can unravel quickly, especially with baby clothes that are washed frequently.
- Incorrect sizing: Always measure your baby carefully and compare with the pattern’s size chart. Babies grow fast, so consider making a slightly larger size for longevity.
- Improper snap placement: Misaligned snaps can cause discomfort or make diaper changes difficult. Use the pattern marks to position snaps accurately.
Troubleshooting Tips for Baby Garment Sewing
| Problem | Cause | Solution |
|---|---|---|
| Fabric puckering after sewing | Tension too tight or wrong needle | Adjust machine tension and use a ballpoint or stretch needle |
| Seams too tight or fabric tearing | Non-stretch fabric or straight stitch on stretch fabric | Use stretch fabric and a stretch stitch or serger |
| Snaps not closing properly | Misaligned or improperly attached snaps | Mark snap placement carefully and use a snap tool for secure attachment |
| Neckline too tight | Incorrect measurement or fabric choice | Choose a ribbed knit for neckbands and measure baby’s neck accurately |
Enhance Your Skills with Expert Patterns
For a comprehensive collection of easy-to-follow, professionally designed sewing patterns, consider exploring Sewing Pattern Secrets! This resource offers over 155 patterns with detailed instructions and schematics, perfect for mastering baby garment sewing and beyond.
Ready to take your sewing to the next level?
Final Thoughts
Sewing a baby romper is a wonderful project that combines practical skills with creativity. By following a clear baby romper pattern tutorial and paying attention to fabric choice, sizing, and finishing techniques, you can create adorable, comfortable rompers that babies will love to wear. Avoid common pitfalls, use quality patterns, and enjoy the satisfaction of handmade baby clothes.
Don’t wait to start your next project—grab your pattern today and see how easy and fun sewing baby clothes can be!
Ready to Take the Next Step?
If Sewing Pattern Secrets! sounds like the right fit after reading this review, you can visit the official page and see all the details straight from the vendor.