How to Print Sewing Patterns at Home: A Step-by-Step Guide
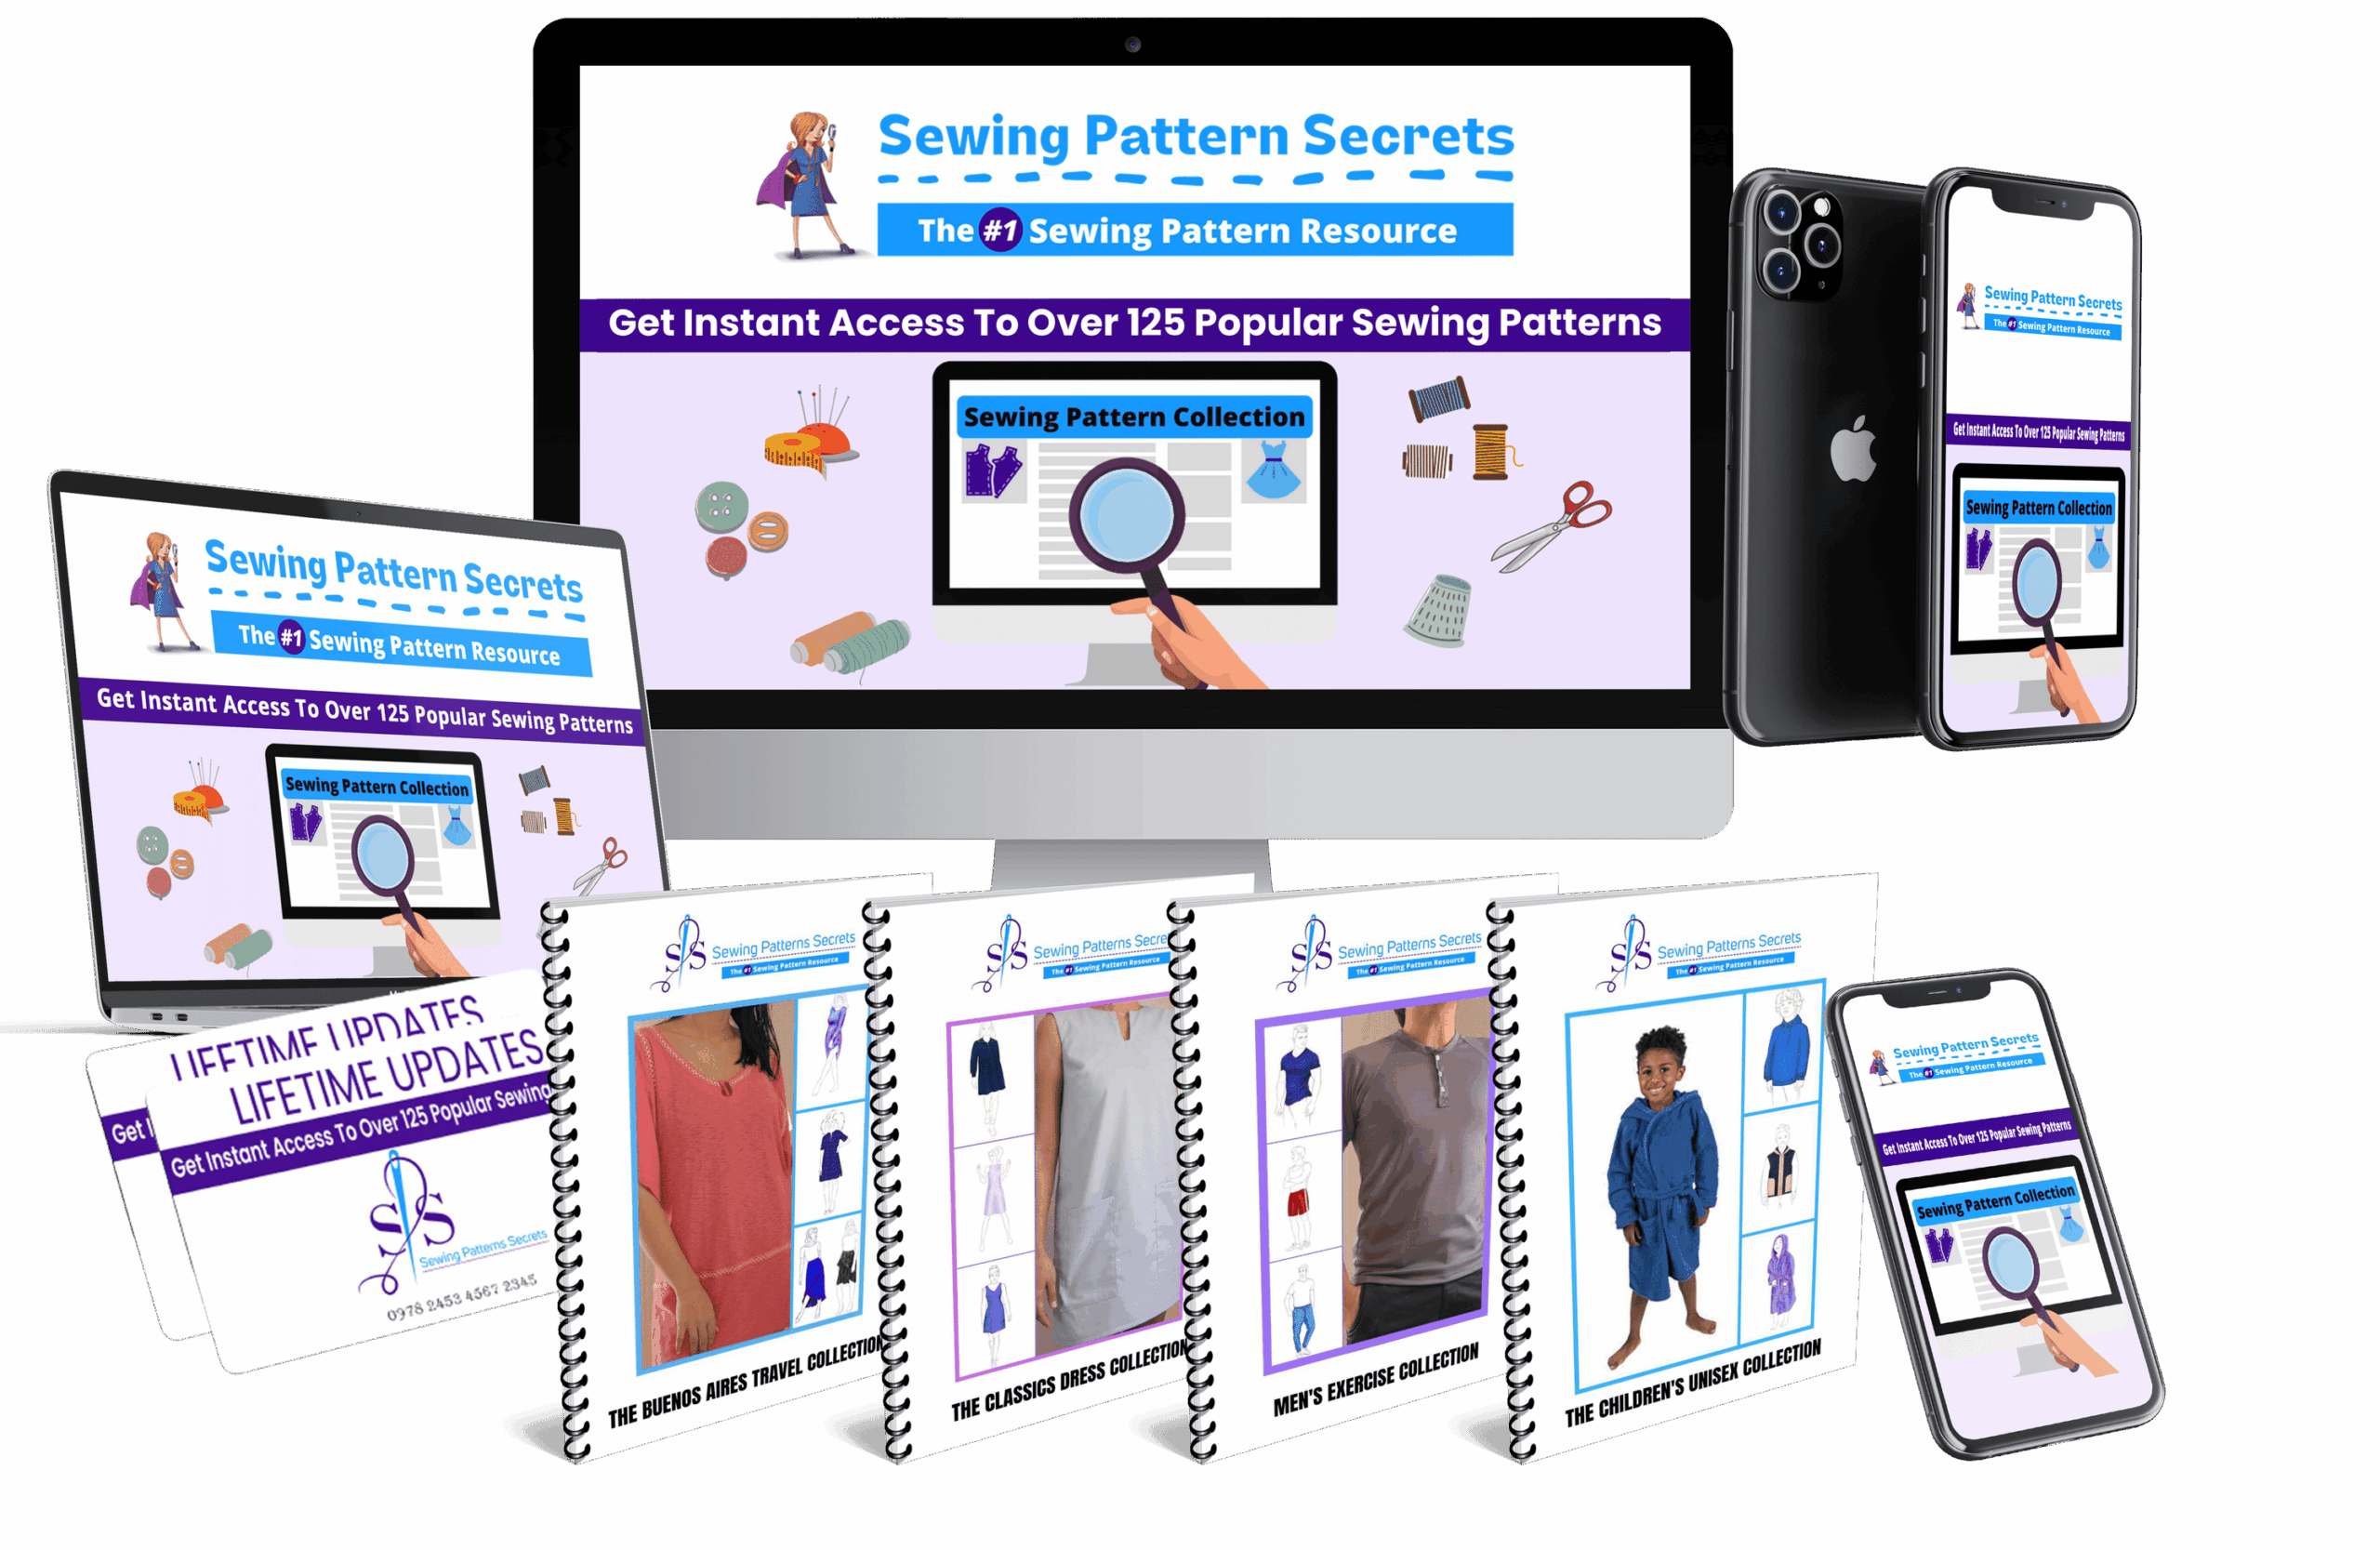
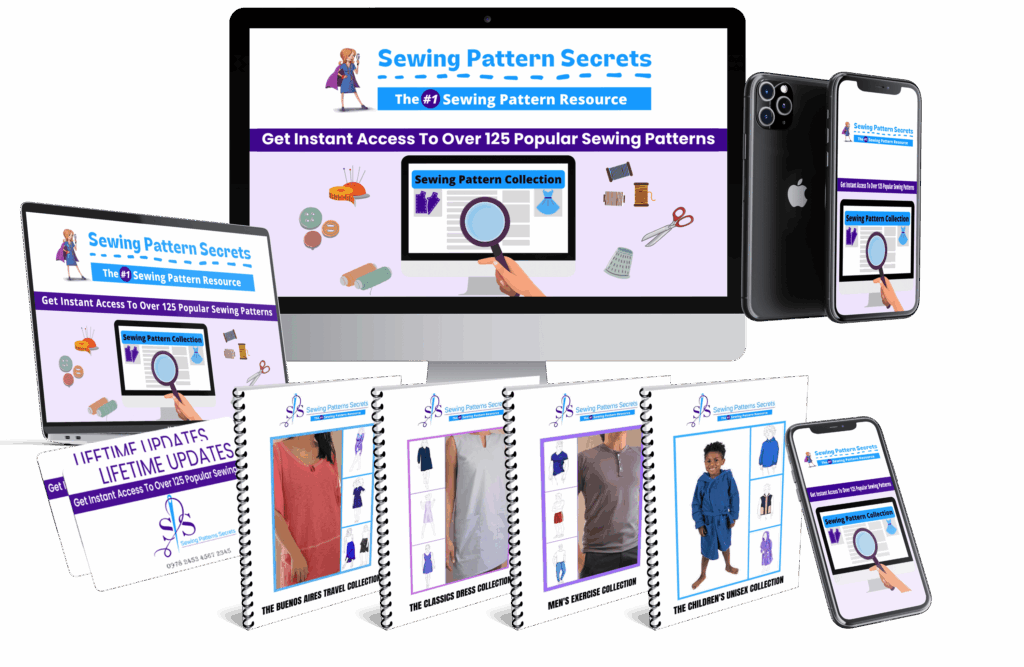
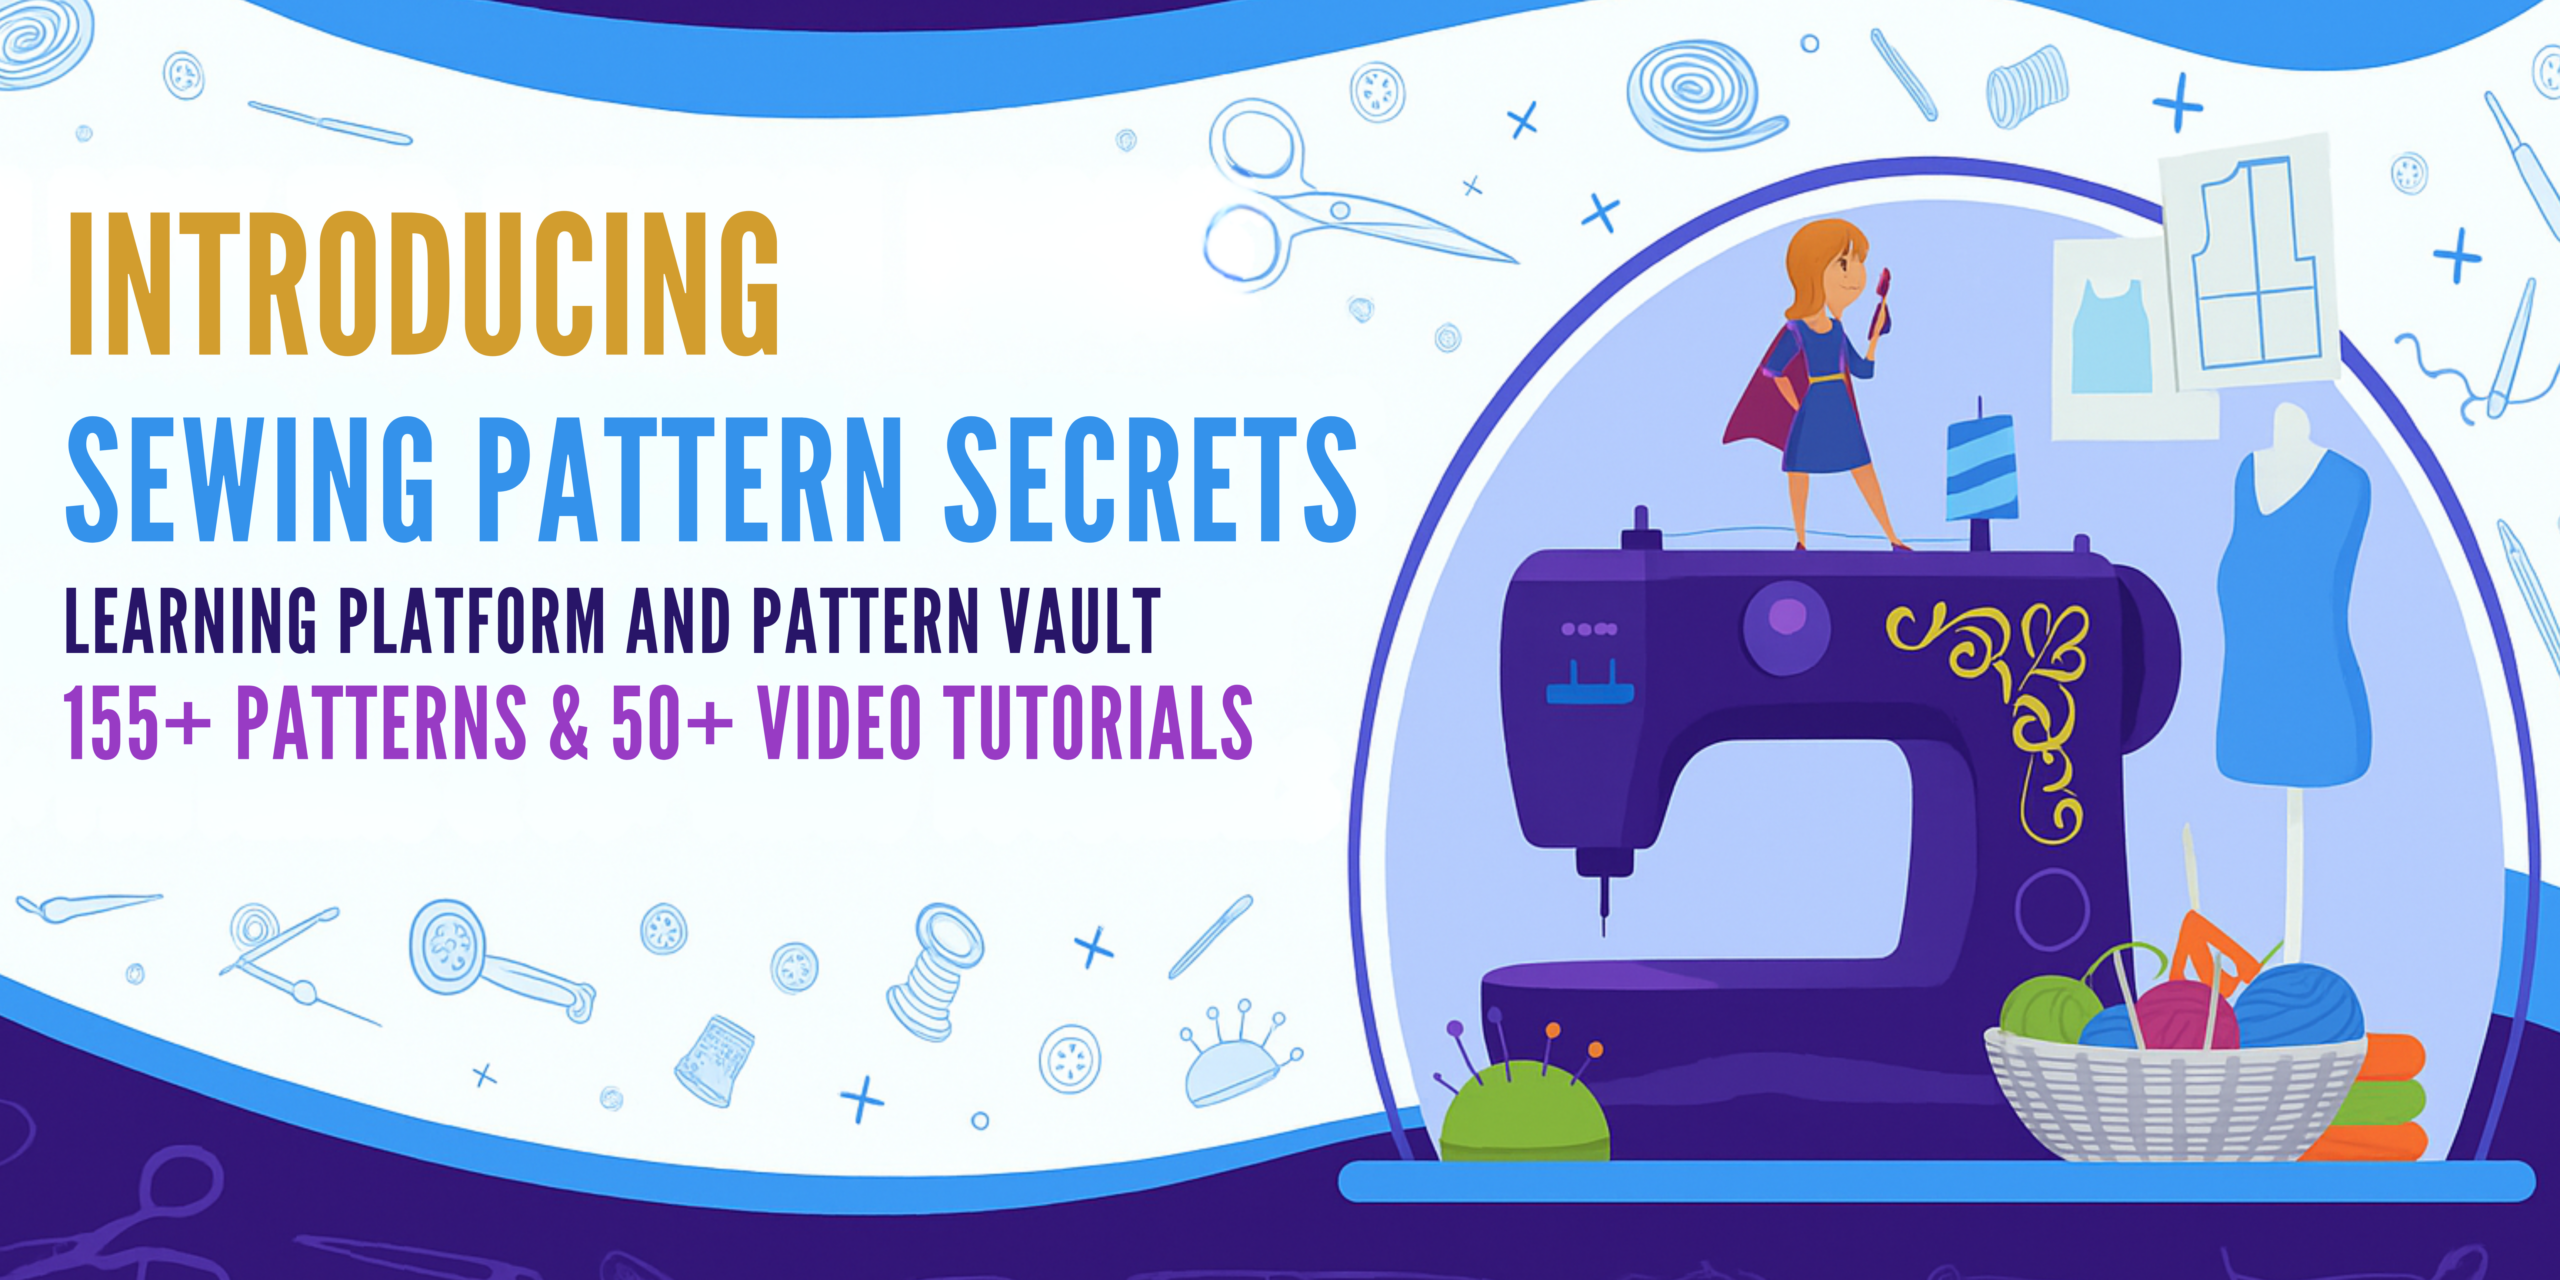
Sewing Pattern Secrets!
Looking for an honest, in-depth look at Sewing Pattern Secrets!? Below you’ll find a full review, but you can also check out the official page here:
Printing sewing patterns at home can seem daunting, especially if you’re new to working with PDF sewing patterns or unfamiliar with how to scale sewing patterns correctly. However, with the right approach and tips, you can easily produce accurate, professional-quality patterns using your home printer sewing patterns setup. This guide will walk you through the essential steps, common pitfalls, and troubleshooting tips to help you get started confidently.
Disclosure: As an affiliate, I may receive a commission if you purchase through links on this page at no cost for you.
Why Print Sewing Patterns at Home?
Printing your own sewing patterns at home offers several advantages:
- Convenience: Download and print patterns instantly without waiting for shipping.
- Cost-Effective: Save money by avoiding expensive commercial pattern books.
- Customization: Easily scale and modify patterns to fit your measurements.
- Variety: Access thousands of designs online, including exclusive patterns like those from Sewing Pattern Secrets!
Step 1: Download and Prepare Your PDF Sewing Patterns
Most modern sewing patterns are available as PDFs. Before printing:
- Download the complete PDF file from a trusted source.
- Open the file using a reliable PDF viewer such as Adobe Acrobat Reader.
- Check if the pattern includes an instruction page for printing specifics and scaling guidelines.
Tip:
Always print the test page included in the PDF to verify that your printer settings are correct.
Step 2: Configure Your Printer Settings Correctly
Proper printer setup is vital to ensure your patterns print at the right size:
- Disable “Fit to Page” or “Shrink to Fit” options: These settings alter the scale and can distort your pattern.
- Select “Actual Size” or 100% scale: This ensures the pattern prints true to the designer’s measurements.
- Use the recommended paper size: Typically, sewing patterns print on standard Letter (8.5” x 11”) or A4 paper.
Common Mistake:
Many users accidentally print patterns with scaling options enabled, causing pieces to be too small or too large, which leads to inaccurate sewing results.
Step 3: Printing and Assembling Your Sewing Patterns
Once your printer is configured, follow these steps:
- Print the entire pattern file, ensuring all pages are included.
- Locate the registration marks or alignment squares on each page; these help you match pages precisely.
- Trim the edges as necessary, usually marked by cut lines or guides.
- Assemble the pages by matching registration marks and taping or gluing them together.
Pro Tip:
Use a large flat surface to assemble your pattern for better accuracy and ease.
Step 4: Scaling Sewing Patterns to Fit Your Measurements
One of the benefits of printing patterns at home is the ability to adjust sizes:
- Check if the PDF includes multiple size layers or grading options.
- If resizing is necessary, use pattern editing software or print the pattern at a scaled percentage based on your body measurements.
- Always print a test square to measure if scaling is accurate before printing the full pattern.
Warning:
Scaling a pattern incorrectly can result in ill-fitting garments. When in doubt, consult sizing charts or seek help from sewing communities.
Common Mistakes When Printing PDF Sewing Patterns
| Issue | Cause | How to Fix |
|---|---|---|
| Pattern pieces don’t align | Incorrect trimming or misaligned taping | Use registration marks carefully; trim precisely and align pages before taping |
| Pattern prints too small or large | Printer scaling options enabled | Set printer to print at 100% or actual size; disable “fit to page” |
| Missing pages or incomplete pattern | Not printing all pages or file corruption | Double-check the total number of pages; re-download file if needed |
Troubleshooting Tips for Home Printer Sewing Patterns
- Print quality is poor: Clean your printer heads and use high-quality paper for better results.
- Pattern pieces overlap or don’t line up: Use a ruler to double-check measurements between pages before taping.
- Scaling test square is off: Recheck printer settings and try printing the test page again.
Bonus: How to Make the Most of Your Printed Patterns
After printing and assembling your patterns:
- Trace onto pattern paper: This preserves your original print and allows you to make adjustments.
- Label each piece: Include markings for grainlines, notches, and seam allowances.
- Store patterns properly: Keep them flat or rolled to avoid creases and damage.
Remember, accurate printing and careful assembly are the foundation for a successful sewing project.
Get Expert Sewing Patterns Now & Save Time
Conclusion
Learning how to print sewing patterns at home properly allows you to unlock a world of creative sewing projects without leaving your house. By following the right steps—from downloading the correct files, setting up your printer for precise scaling, to carefully assembling your patterns—you can enjoy a smooth, frustration-free sewing experience. Avoid common mistakes by double-checking printer settings and practicing with test pages. With patience and practice, your home printer sewing patterns will become the foundation for many beautiful, custom-made garments.
Download the Ultimate Collection of Patterns Today
Ready to Take the Next Step?
If Sewing Pattern Secrets! sounds like the right fit after reading this review, you can visit the official page and see all the details straight from the vendor.