How to Sew with Knits: A Complete Guide for Stretchy Fabrics
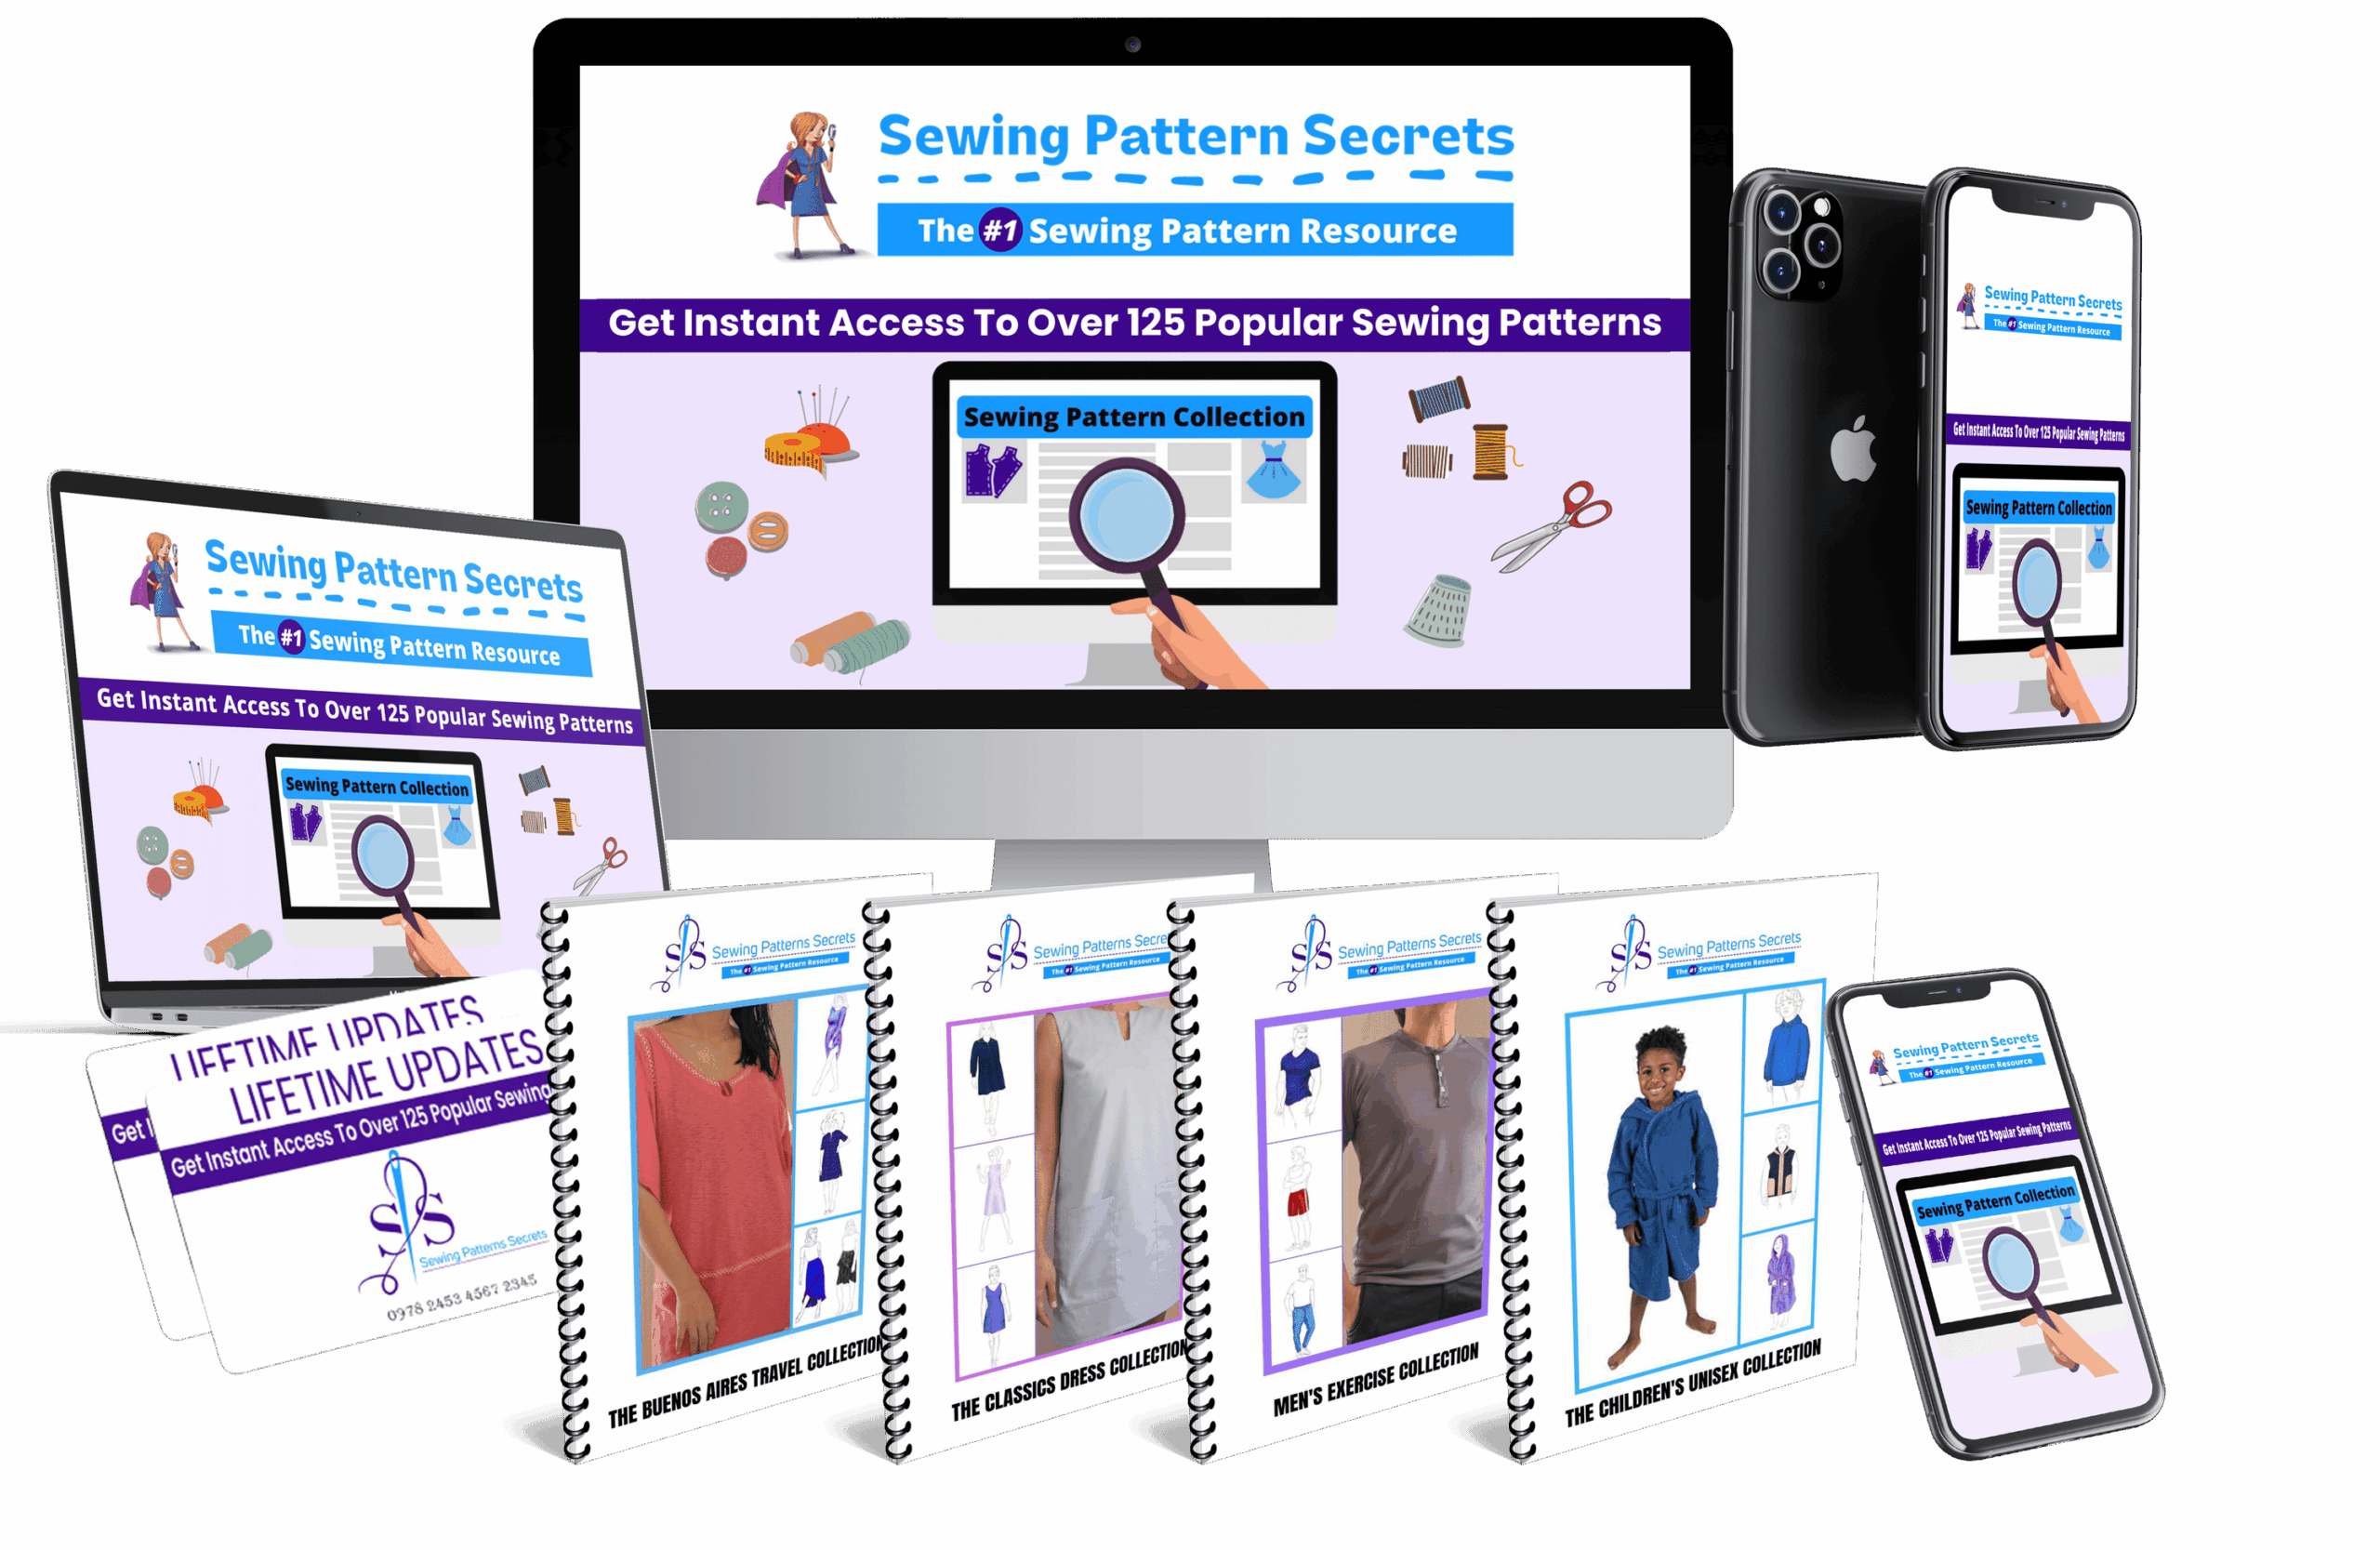
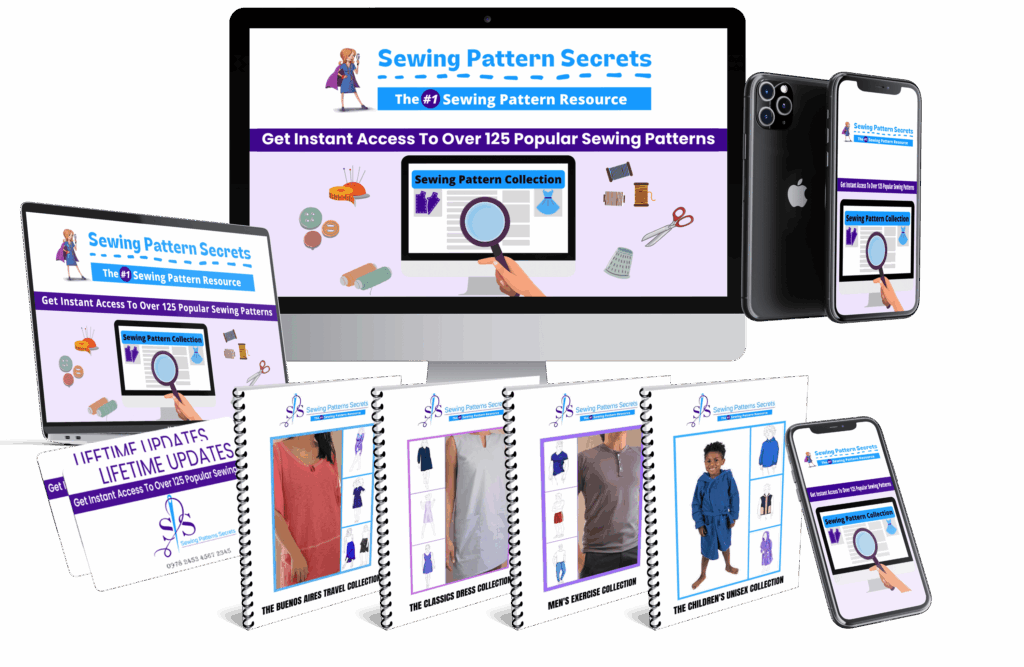
Sewing Pattern Secrets!
Looking for an honest, in-depth look at Sewing Pattern Secrets!? Below you’ll find a full review, but you can also check out the official page here:
Sewing with knit fabrics can seem intimidating at first, but with the right techniques and tools, you can create comfortable, stylish garments that fit perfectly. Whether you’re a beginner or have some experience, this guide will walk you through how to sew with knits effectively, share essential knit fabric sewing tips, and introduce you to the benefits of using knitwear patterns.
Disclosure: As an affiliate, I may receive a commission if you purchase through links on this page at no cost for you.
Understanding Knit Fabrics
Knit fabrics are made by interlocking loops of yarn, giving them natural stretch and flexibility. This makes them ideal for garments that require comfort and movement, such as t-shirts, leggings, and casual dresses. However, their stretchiness can also make them tricky to handle if you’re used to sewing woven fabrics.
Types of Knits
- Jersey Knit: Lightweight and soft, commonly used for t-shirts.
- Interlock Knit: Thicker and more stable, great for structured knitwear.
- Rib Knit: Stretchy with vertical ribs, often used for cuffs and neckbands.
- Sweater Knit: Heavier and cozy, perfect for sweaters and cardigans.
Essential Knit Fabric Sewing Tips
Before you start sewing, here are some key tips to keep in mind for working with knits:
- Choose the Right Needle: Use a ballpoint or stretch needle to prevent snagging or damaging the fabric.
- Use Stretch Stitches: Select a stretch stitch or a narrow zigzag on your sewing machine to maintain fabric elasticity.
- Stabilize Seams: Consider using clear elastic or stay tape on shoulder seams to prevent stretching out over time.
- Adjust Tension and Presser Foot: Loosen the tension and use a walking foot if available to avoid puckering and fabric shifting.
- Test on Scraps: Always sew a sample on fabric scraps to fine-tune your machine settings.
Step-by-Step Guide: How to Sew with Knits
Step 1: Preparing Your Fabric
Wash and dry your knit fabric before cutting to pre-shrink it. Lay the fabric flat on a cutting surface and smooth out wrinkles without stretching.
Step 2: Cutting Your Fabric
Use sharp fabric scissors or a rotary cutter for clean edges. Cut your pieces following the grainline indicated on your knitwear patterns. Avoid stretching the fabric while cutting to maintain accurate sizing.
Step 3: Pinning and Marking
Pin the pieces together with ballpoint pins or clips to avoid damaging the knit. Mark key points with tailor’s chalk or fabric markers designed for stretchy materials.
Step 4: Sewing the Seams
Set your machine to a stretch stitch or a narrow zigzag. Sew slowly, guiding the fabric without pulling. For seams that require extra strength, use a twin needle to create professional-looking double topstitching.
Step 5: Finishing Edges
Finish raw edges with a serger if available, or use a stretch stitch on your sewing machine. Hem knits with a twin needle or a coverstitch machine for a clean, stretchy finish.
Step 6: Adding Details
Attach neckbands, cuffs, or waistbands using rib knit or similar stretchy fabric. Stretch these pieces slightly as you sew to ensure they fit snugly without puckering.
Common Mistakes When Sewing Stretchy Fabrics
- Using the Wrong Needle: Regular needles can cause skipped stitches or holes.
- Not Testing Stitches First: Skipping this step can lead to uneven seams or puckered fabric.
- Pulling the Fabric: Stretching fabric while sewing distorts the shape and fit.
- Ignoring Fabric Grain: Cutting off-grain can cause garments to twist or sag.
- Skipping Seam Stabilization: Shoulders and necklines can stretch out without reinforcement.
Troubleshooting Sewing with Knits
| Problem | Cause | Solution |
|---|---|---|
| Skipped stitches | Wrong needle type or dull needle | Switch to a ballpoint/stretch needle; replace if dull |
| Puckering seams | Too much tension or pulling fabric | Loosen tension; sew without stretching fabric |
| Fabric stretching out after sewing | No seam stabilization | Add clear elastic or stay tape on shoulder seams |
| Uneven hems | Incorrect stitch or tension settings | Use twin needle and adjust tension; test on scraps |
Why Use Knitwear Patterns?
Knitwear patterns are specifically designed to accommodate the stretch and drape of knit fabrics. Using these patterns ensures your finished garment fits well and maintains its shape. Unlike woven fabric patterns, knitwear patterns often include recommendations for fabric type, stretch percentage, and sewing techniques—making your project smoother and more predictable.
For those ready to take their sewing to the next level, consider exploring Sewing Pattern Secrets! This collection offers over 155 detailed, easy-to-follow sewing patterns tailored for a variety of skill levels, including many designed for knit fabrics.
Unlock Expert Knitwear Patterns & Tips Now
Final Thoughts
Sewing with knits opens up a world of comfortable and flattering garment possibilities. By following these steps and applying the right techniques, you can master stretchy fabric sewing and create beautiful knitwear with confidence. Remember, practice is key—start with simple projects and gradually try more complex designs as you improve.
Get Started Fast with Proven Sewing Patterns
Ready to Take the Next Step?
If Sewing Pattern Secrets! sounds like the right fit after reading this review, you can visit the official page and see all the details straight from the vendor.