
How To Use Old Singer Sewing Machine
Sewing is a great way to express your creativity and make something unique. But before you can get started, it is important to know how to set up your Singer sewing machine correctly. In this article, we will show you step-by-step instructions on how to thread your Singer sewing machine with pictures so you can start creating in no time!

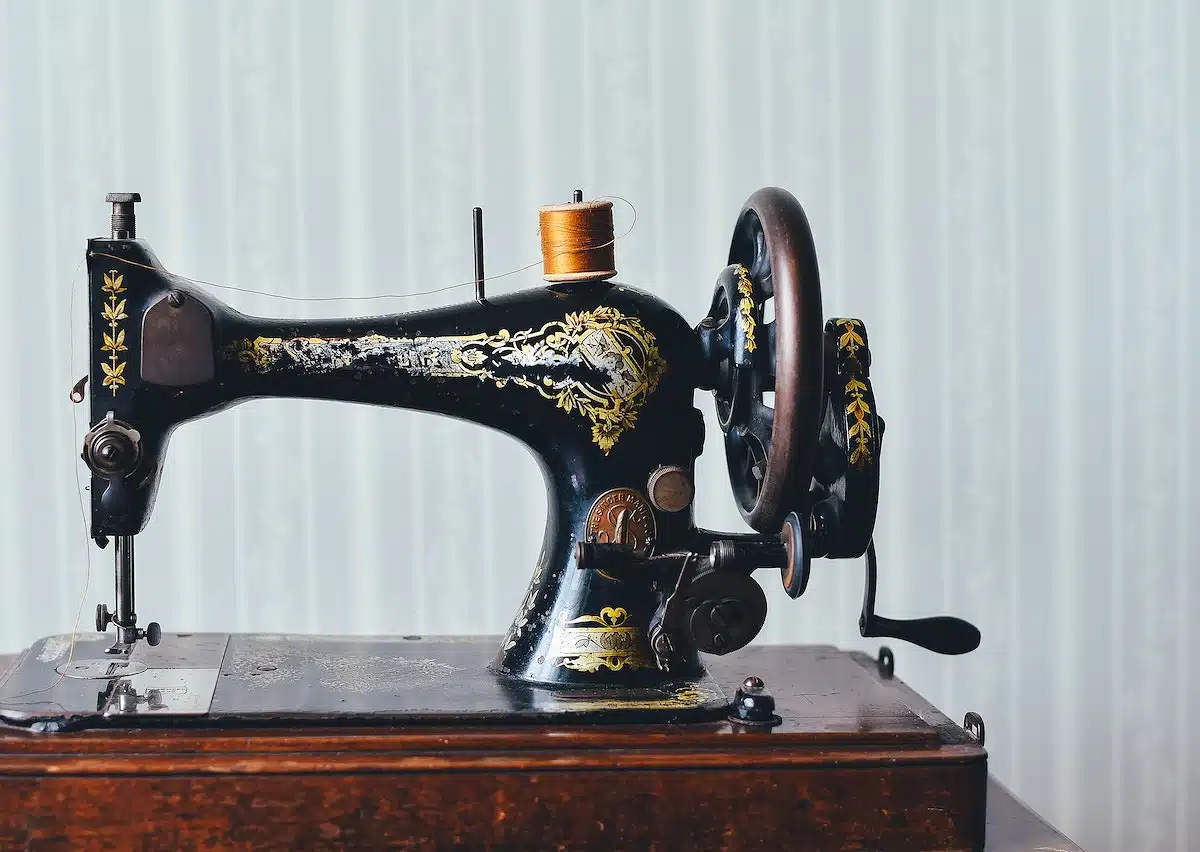
Old Singer Sewing Machines are sewing machines that were first introduced by Singer sewing machines in 1925. If you are like many people, your Singer sewing machine has been around for years, probably gathering dust in a corner of the attic or basement. These are still used today because of their simplicity and durability
Get Familiarise With Machine
First, you start with identifying the model of your machine. You can find this information on the singer’s website or in the manual. Once you know the model you have, you can look up online tutorials or watch YouTube videos specific to that model.
Threading The Upper Part Of the Machine
If you’re looking to thread the front parts of your Singer sewing machine, there are a few things you’ll need to do.
- First, gather all of the supplies you’ll need: a spool of thread, a needle, and scissors.
- Next, find the tension knob on your machine and set it to the lowest setting.
- Once that’s done, take your spool of thread and place it on the spindle at the top of the machine.
- Then, pull the end of the thread through the first guide (located just below the spindle), and continue pulling it down until you reach the second guide.
- From there, take your needle and thread it through the eye. Finally, cut off any excess thread.
Preparing The Bobbin
Before you can start sewing on your Singer sewing machine, you need to load the bobbin. This process is different depending on the model of Singer sewing machine that you have, so be sure to consult your machine’s manual before beginning. In general, however, the process goes something like this:
- First, find the bobbin case. This is a small metal piece that holds the bobbin in place. On most Singer machines, it is located on the side of the machine near the needle.
- Next, take out the empty bobbin from the case and insert a new thread wound around the bobbin in a clockwise direction.
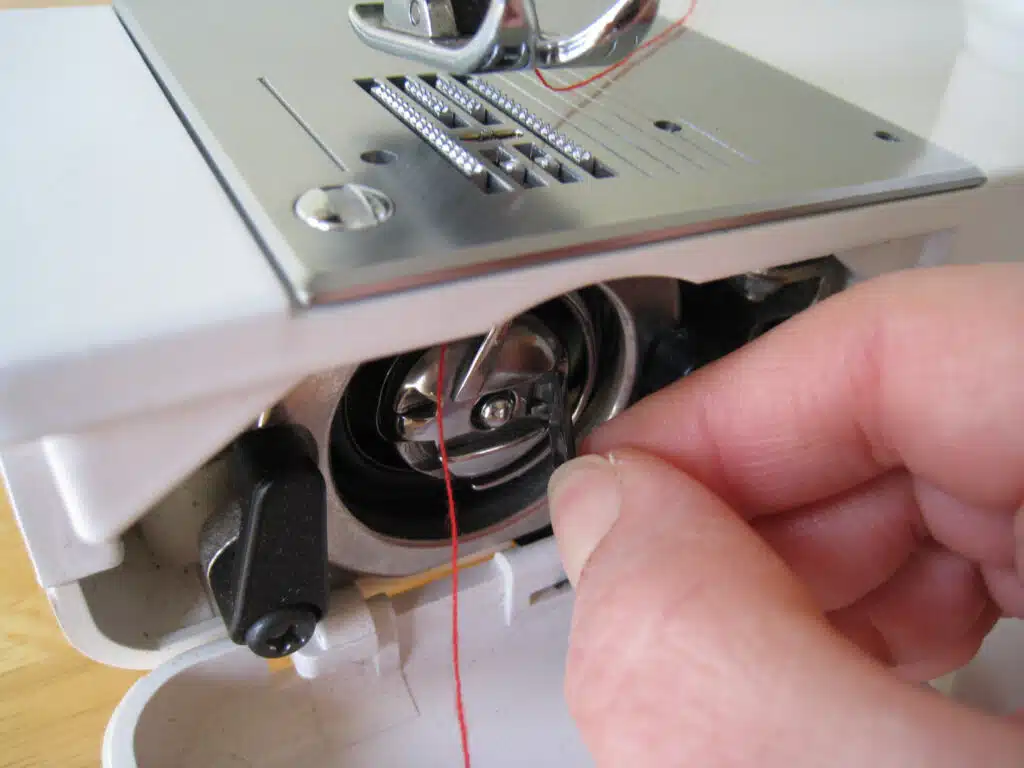
Place The Bobbin In the Machine
To place the bobbin in your Singer sewing machine, start by removing the plate on the side of the machine. Once the plate is removed, you will see a small metal piece
with a hole in it. This is called the bobbin case. Take your bobbin and thread it through this hole so that the thread is coming out of the hole in the bobbin case. Now, insert the bobbin case back into the machine and replace the plate.
Next, you need to thread the bobbin. To do this, first, make sure that your machine is set to wind mode. Then, insert the end of your thread through the guide on the top of the machine and wrap it around the tension disk. Hold onto both ends of the thread and press down on the foot pedal to start winding your bobbin. When it is full, cut off the excess thread and press down on the release lever to stop winding.
Now that your bobbin is threaded, you are ready to start sewing!
Put the Fabric To See If It Works
If you’re unsure whether a fabric will work with your sewing machine, it’s always best to test it first. Here’s how:
1. Cut a small square of fabric from the main piece.
2. Set up your sewing machine according to the manufacturer’s instructions.
3. Sew a straight line on the fabric square.
4. Examine the stitches to ensure they are even and consistent. If they are, then the fabric is likely compatible with your machine. If not, you may need to adjust your machine’s settings or find a different type of fabric.

Tension Adjustment
You will see that the Singer sewing machine has a tension and feeding mechanism. The tension mechanism is located on the right side of the machine which adjusts the tension of stitches, and the feeding mechanism is located on the left which feeds fabric through the machine. You’ll also see a button on the front of the machine that is used to change the speed of the machine.
Conclusion
As you can see, setting up your old Singer sewing machine is a fairly easy process. Just be sure to read the instruction manual that comes with your machine. With a little patience and practice, you will be sewing like a pro in no time! Now I hope you are clear on How To Use the Old Singer Sewing Machine
Happy Sewing!